
When a leak starts, the goal isn’t to “fully repair” it on the spot—your goal is to stop the water, protect your home, and prevent the damage from spreading until we can get there.
Below is exactly how I recommend stabilizing most leaks in a Gaithersburg home, step by step, without risky DIY moves.
Step 1: Safety first (do this before you touch anything)
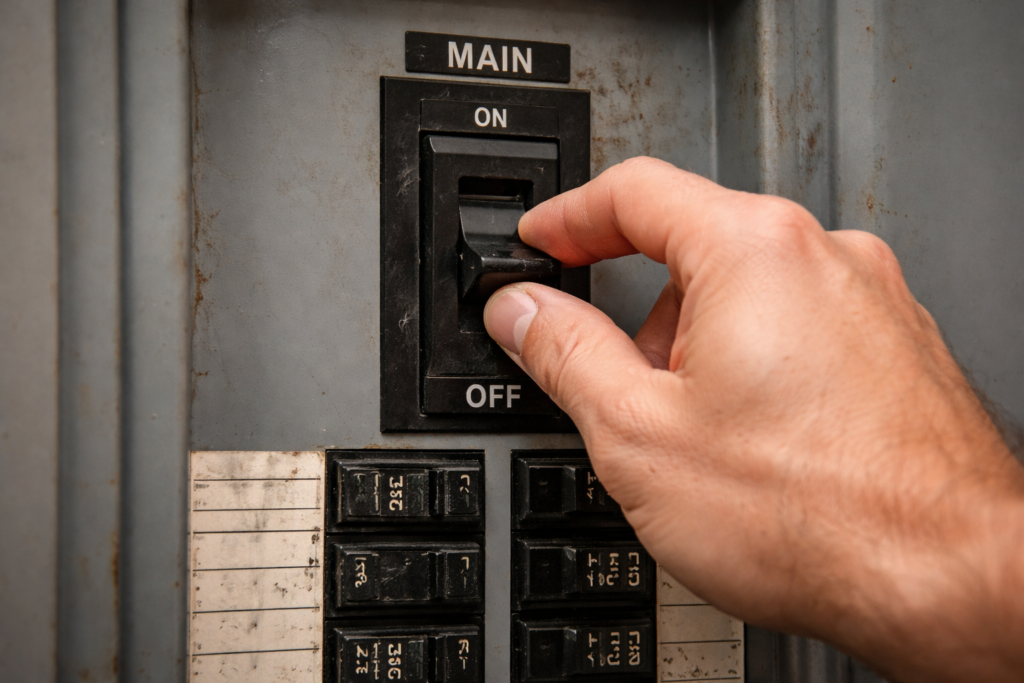
If water is near outlets, appliances, or the electrical panel:
- Don’t step into standing water if you’re unsure what’s energized.
- Turn off power to the affected area only if you can do it safely and you’re confident what breaker controls it.
- Keep kids and pets away from the area.
If you smell gas or suspect a gas-related issue, leave the home and call emergency services + your utility.
Step 2: Stop the water—fast (the “big win”)
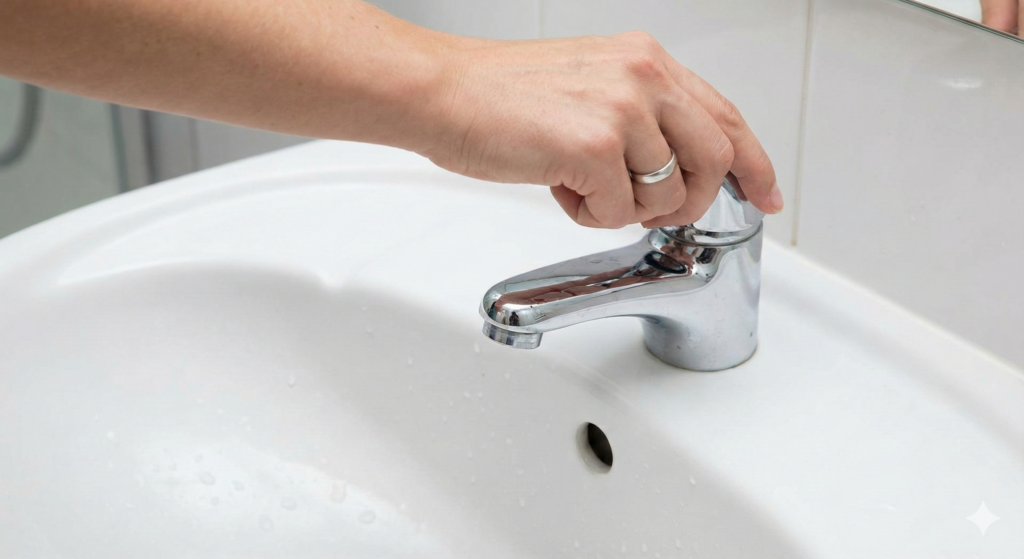
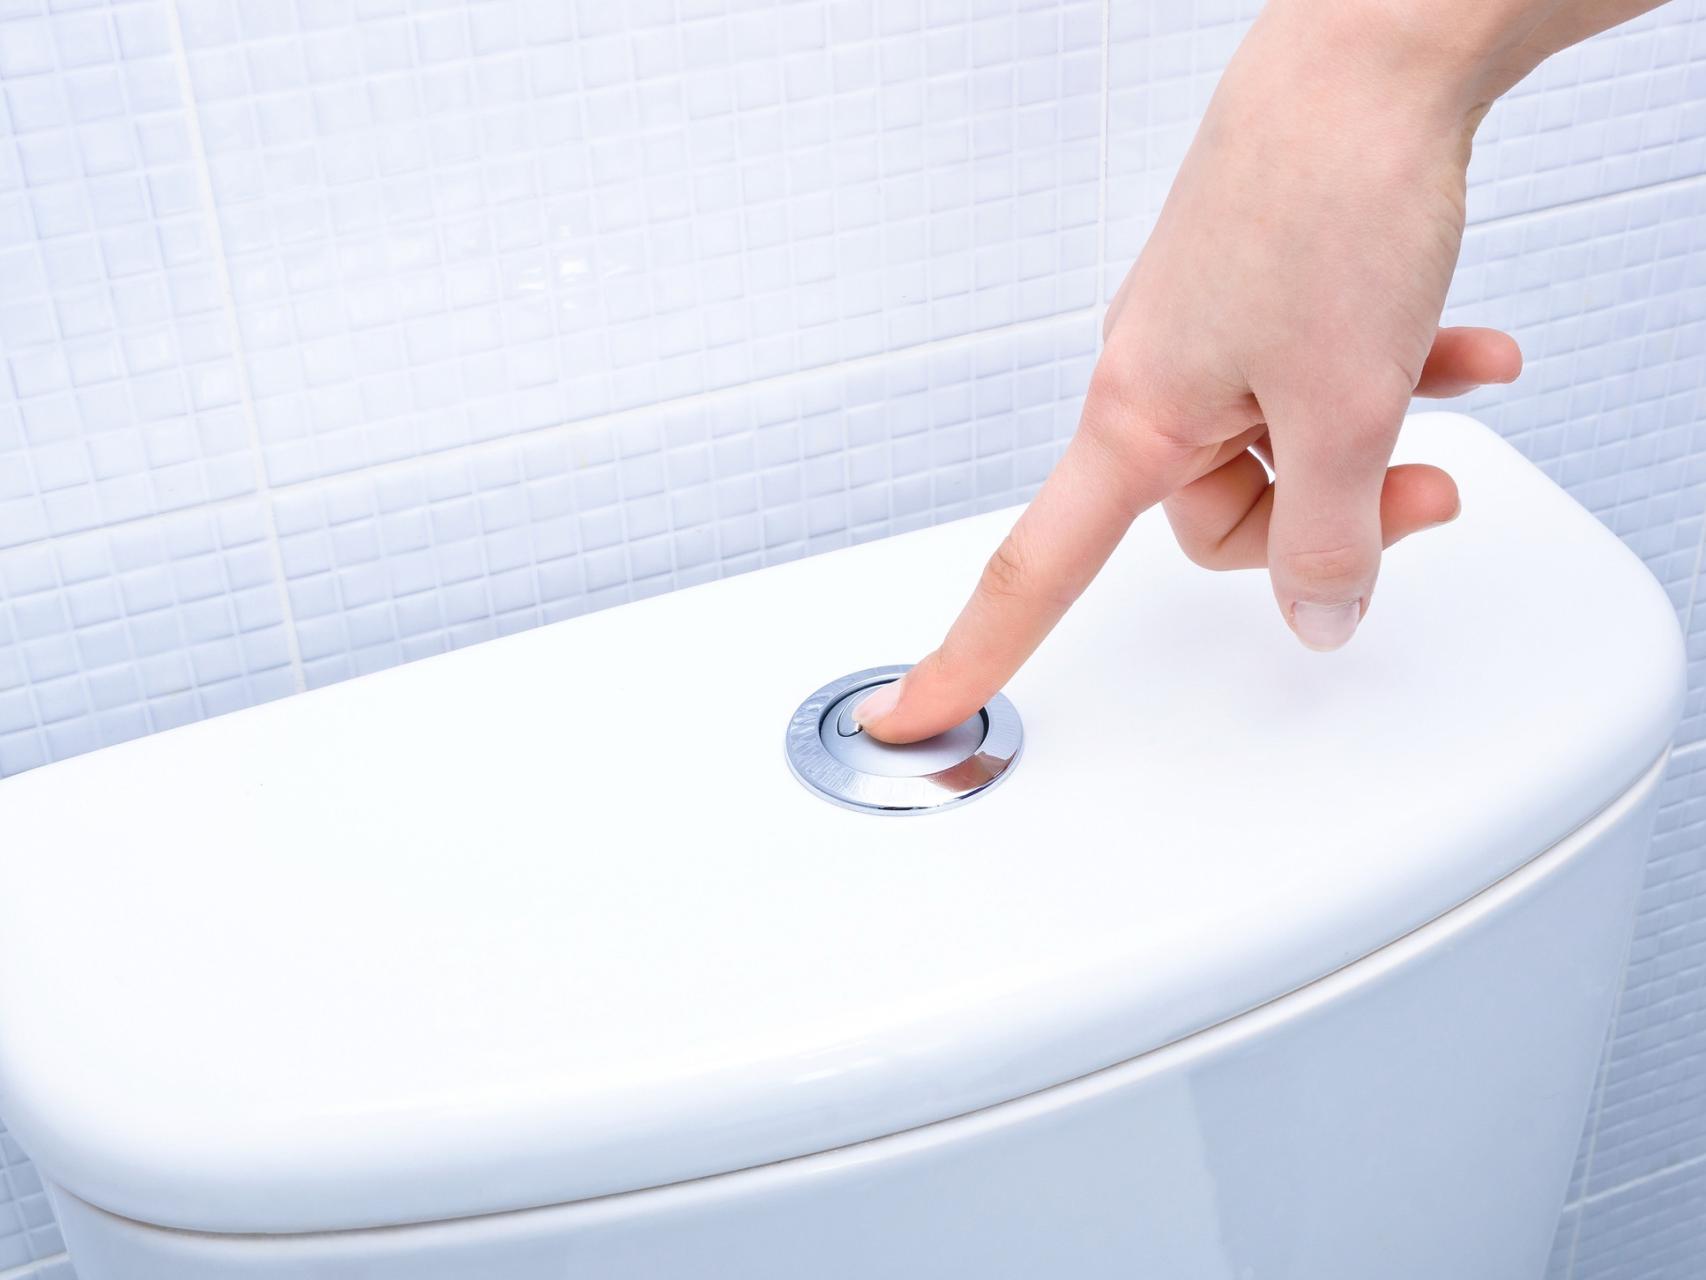
Option A: Shut off the fixture valve (fastest if it’s a sink/toilet)
- Under sinks: turn the hot/cold shutoff valves clockwise.
- Toilet: turn the toilet shutoff valve clockwise (behind the toilet).
If the valve won’t turn, don’t force it hard—older valves can snap.
Option B: Shut off the home’s main water (best for pipe leaks or unknown leaks)
If the leak is:
- behind a wall,
- from a pipe,
- from the ceiling,
- or you can’t tell where it’s coming from…
Shut off the main water valve. This immediately limits damage.
If the issue looks like a supply-line failure, this is typically where professional repair begins:
👉 Water Line Repair
Step 3: Relieve pressure and reduce ongoing damage
After you shut water off:
- Open one cold faucet on the lowest level to relieve pressure.
- Flush the toilet once (if it’s safe) to empty the tank.
- Place buckets/towels to catch drips.
- Move items off the floor (especially in finished basements).
Step 4: Identify what kind of leak it is (so you pick the right “temporary” move)
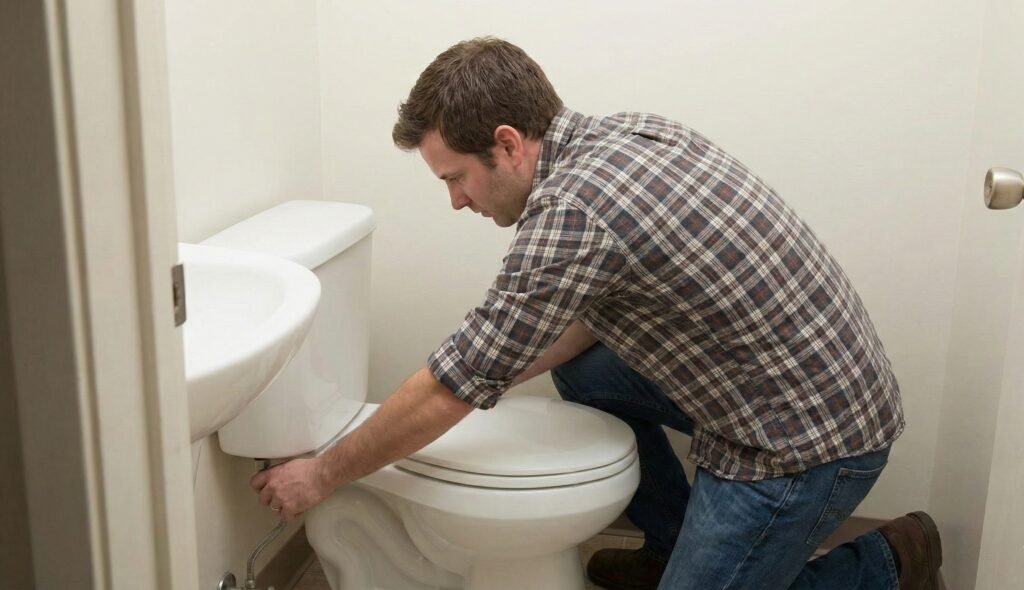
1) Toilet overflow
- Shut off the toilet valve (clockwise).
- Remove the tank lid and lift the float to stop fill.
- If it’s overflowing from the bowl: stop using all water in the home (it can be a mainline issue).
If there’s a recurring backup or overflow pattern, the fastest way to stop guessing is a camera inspection:
👉 Video Camera Sewer Inspection
If the line is damaged or repeatedly obstructed:
👉 Sewer Line Repair & Replacement
2) Leak under a sink
Common causes:
- loose supply connection
- failed supply line
- leaking shutoff valve
- damaged P-trap connection
Stabilize it:
- Shut off the local valves
- Put a bucket under the leak
- If a connection is clearly loose, a gentle snug can help—but don’t crank hard.
If the shutoff valve won’t stop the flow, go to main water shutoff and call.
👉 Water Line Repair
3) Burst pipe / active spray
This is “main shutoff immediately” territory.
- Shut off the main
- Open a low cold faucet to relieve pressure
- Contain the water and keep electricity safety in mind
Then call for repair:
👉 Water Line Repair
4) Water heater leaking
First determine where the water is coming from:
- Top connections (often fittings/valves)
- Bottom of the tank (often tank failure)
Stabilize it:
- Turn off the cold supply to the water heater (usually a valve on the line above it)
- If water is actively leaking, don’t wait—contain with a pan/buckets and protect nearby items
For diagnosis and safe repairs/replacement:
👉 Water Heater Services
Step 5: Temporary “containment” tools that actually help (without pretending it’s a real repair)
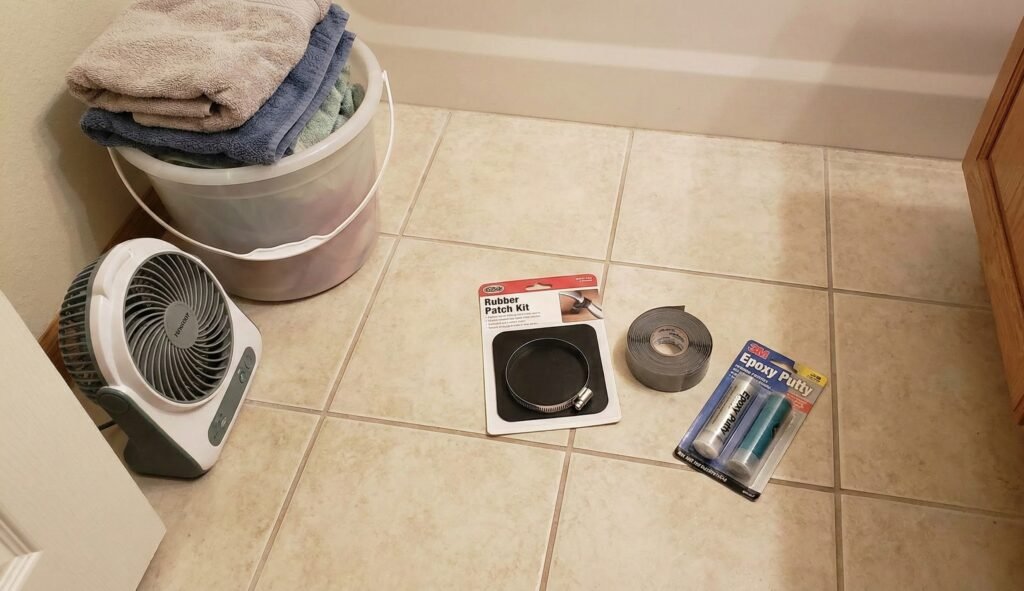
If you can safely access the leaking pipe and the water is off:
- Bucket + towels + fan: stops spread and helps reduce secondary damage.
- Rubber patch + clamp (or a wrap): can slow a drip on a straight section of pipe.
- Epoxy putty (only after drying the surface as much as possible): can temporarily reduce a small seep.
These are temporary stabilization steps—if the pipe, fitting, or valve is failing, it needs a real repair.
Need help right now? Shut off the water, contain the leak, and call Quince Orchard Plumbing for fast, clean emergency service in Gaithersburg.
What NOT to do during a leak (these make things worse)
- Don’t use chemical drain cleaners to “solve” an overflow—if it’s a mainline issue, they won’t fix it and can create hazards.
- Don’t overtighten fittings aggressively (you can crack components or strip threads).
- Don’t ignore a “small” water heater leak—it often becomes a major flood.
- Don’t keep using water if you suspect a sewer backup (showers, laundry, dishwasher).
The “call now” red flags
Call immediately if you have:
- water near electrical outlets/panel
- ceiling leak (water traveling behind walls)
- burst pipe / continuous flow
- sewage smell or wastewater overflow
- water heater tank leak